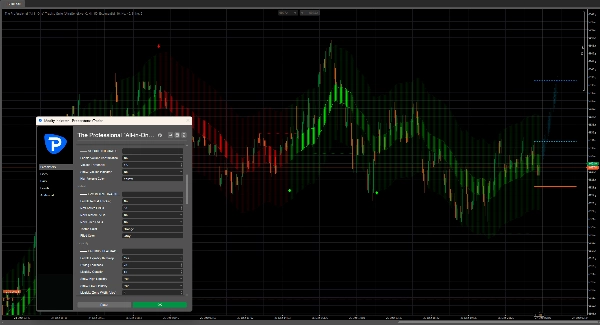
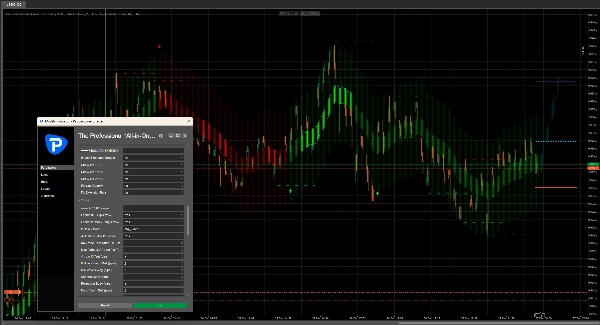
Açıklama
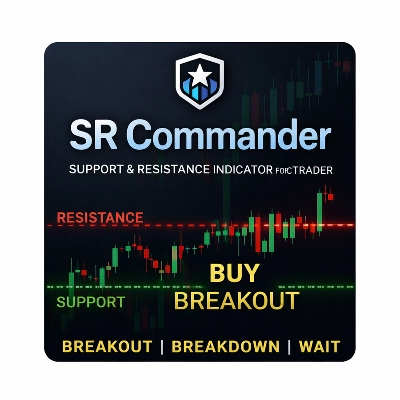
FVG MA Color V45 Extended — Grafiğinizi Bir Ticaret Terminaline Dönüştürün
✅ Kurumsal tarzda Adil Değer Boşluğu tespiti (Strict_A + UltraSensitive_C)
✅ Yüksek Zaman Dilimi yön kontrolü çoklu TF + tick-TF desteği ile
✅ Isı haritası + solma + parıltı anlık görsel hakimiyet için
✅ Öngörücü Bölgeler fiyat davranışını öngörmek için ileriye projekte eder
✅ Likidite Isı Haritası + Likidite Kümeleri piyasanın gerçekten ilgilendiği yerleri ortaya çıkarır
✅ Akıllı Oklar (HTF dönüş + geri çekilme girişi) temiz, yüksek olasılıklı karar anları için
✅ Opsiyonel TP/SL projeksiyonu likidite hedeflerine dayalı (birden fazla SL modu)
Bu temel bir gösterge değildir.
FVG MA Color V45 Extended, doğrudan grafiğinize inşa edilmiş tam bir ticaret ortamıdır.
Tahmin yapmayı bırakan ve piyasayı bir sistem olarak görmek isteyen — yapı, dengesizlik (FVG), likidite, zamanlama, hedefler ve risk çerçevesini tek bir tutarlı çalışma alanında tasarlanmıştır.
Anında görürsünüz:
- dengenin nerede oluştuğunu
- nerede tekrar test edildiğini
- likiditenin nerede biriktiğini
- yüksek zaman diliminin ne zaman döndüğünü
- geri çekilmelerin nerede kaliteli girişler haline geldiğini
“Uyum” aramayı bırakın. Grafiğe koyun ve size gerçeği göstersin.
Neden bu profesyonel seviye (ve neden hemen hissedeceksiniz)
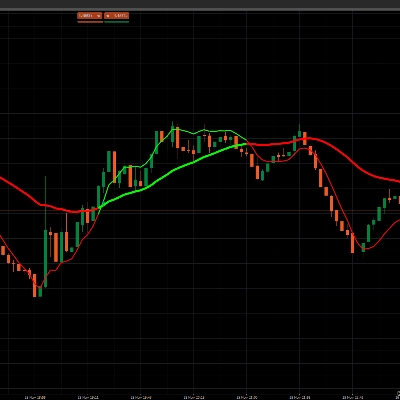
1) Çift FVG Motoru — kişiliğinizi seçin
Gerçek tüccarlar tek bir piyasa koşulunda işlem yapmazlar.
- Strict_A → muhafazakar, temiz, “sadece en iyi” bölgeler
- UltraSensitive_C → tick grafikler ve volatil seanslar için daha hızlı, daha agresif tespit
Motoru tarzınıza (scalping, günlük, swing) araç değiştirmeden uyarlarsınız.
2) Yüksek Zaman Dilimi Kontrolü — büyük parayla işlem yapın, hassasiyetle uygulayın
Çoğu kayıp bir şeyden kaynaklanır: uyumsuzluk.
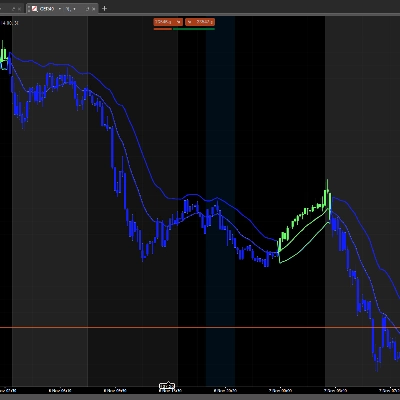
Bu gösterge, renklendirme TF'si (tick tabanlı zaman dilimleri dahil) seçmenize izin vererek grafiğinizin baskın bir çerçeveyi takip etmesini sağlar:
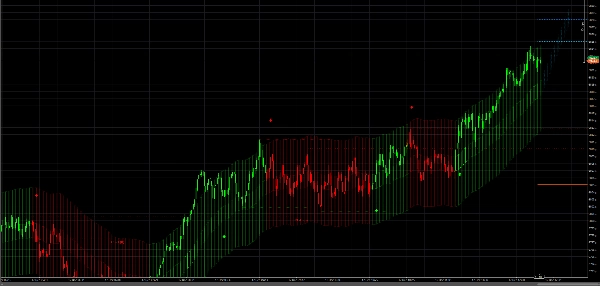
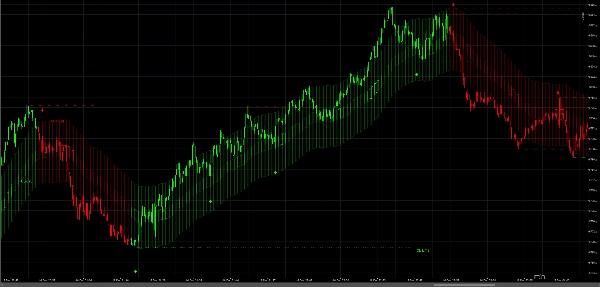
🟢 Boğa rejimi → yeşil eğilim
🔴 Ayı rejimi → kırmızı eğilim
Karışık sinyaller yok. Karışıklık yok. Sadece net bir HTF pusulası.
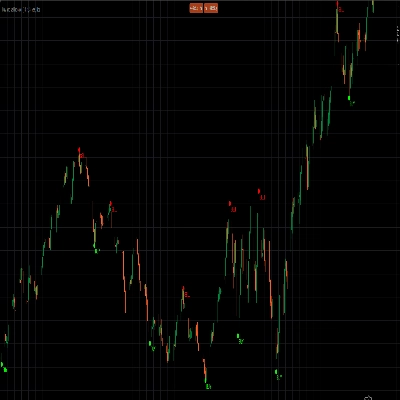
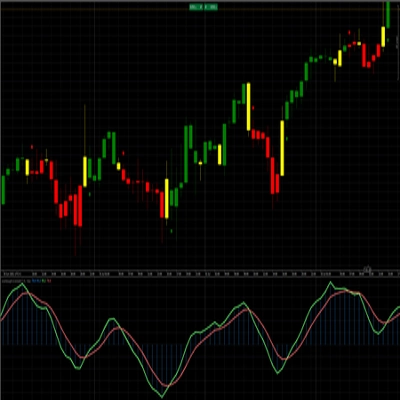
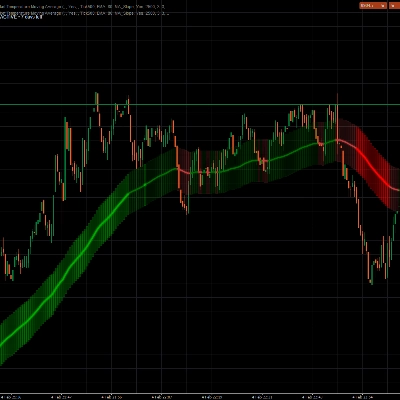
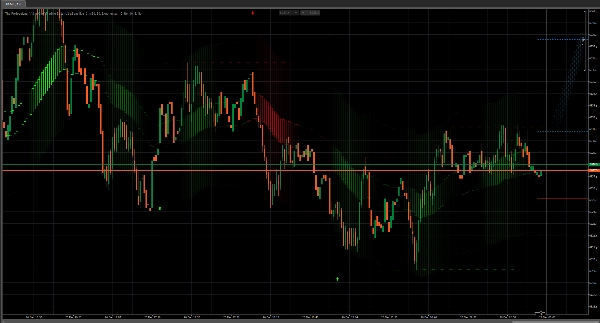
3) Isı Haritası + Solma + Parıltı — gücü görün, gürültüyü değil
Isı haritası süs değil — o bilgi yoğunluğudur.
- Isı Haritası Opaklığı yoğunluğu kontrol eder
- Isı Haritası Solması eski bölgelerin doğal olarak solmasına izin verir (şimdi önemli olana odaklanın şimdi)
- Parıltı Modu koşullar güçlü olduğunda elit “güç vurgusu” ekler
Sonuç: grafiğiniz bir bakışta okunabilir hale gelir — temiz, kararlı, baskın.
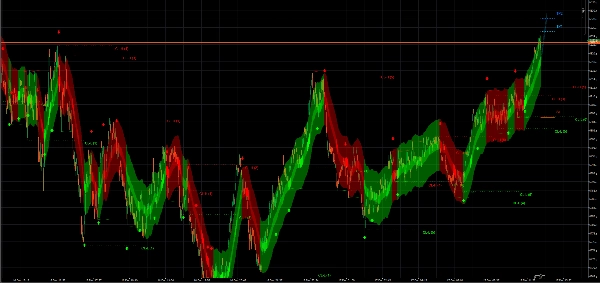
4) Öngörücü Bölgeler — tepki vermek yerine önceden tahmin edin
Etkinleştirildiğinde, Öngörücü Bölgeler ileriye projekte edilir ve fiyatın önünde bir olasılık koridoru çizer.
Bu, kalabalıktan önce pozisyon almak isteyen tüccarlar içindir, sonra değil.
Şunu yapmak için kullanın:
- geri çekilmeleri önceden planlayın
- devam yollarını görselleştirin
- beklentiden erken sapmayı tespit edin
Bu, “Bunun geleceğini biliyordum” hissini yaratır — görsel olarak.
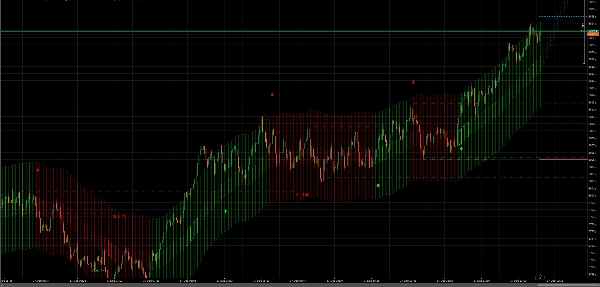
5) Likidite Motoru — gizli mıknatıs katmanı (Isı Haritası + Kümeler)
Fiyat likiditeden likiditeye hareket eder. Bu görünür hale gelir.
- Likidite Isı Haritası ana salınım likiditesini işaretler
- Likidite Kümeleri tekrarlanan dokunuşları daha güçlü kurumsal mıknatıslara birleştirir
- Temiz rehberlik için opsiyonel küme çizgileri/etiketleri
Burada bir sonraki seviyeye geçer:
Rastgele mumlarla işlem yapmıyorsunuz — emirlerin yaşadığı yerde işlem yapıyorsunuz.
6) Likiditeden TP/SL Projeksiyonu — tahmin yapmadan yapılandırılmış çıkışlar
Etkinleştirildiğinde, sistem şunları projekte edebilir:
- TP1 / TP2 likidite hedeflerine doğru
- SL seçilebilir mantıkla:
-
- Karşı Likidite
- Son Salınım
- ATR
- Hibrit (akıllı karışım)
Bu, grafiğinizi sadece bir giriş aracı değil, risk planlama istasyonuna dönüştürür.
Opsiyonel ekstralar (etkinleştirilirse): yeni HTF barlarında TP/SL güncelleme, trend dönüşünde otomatik kaldırma, vuruş takibi, BE mantığı vb.
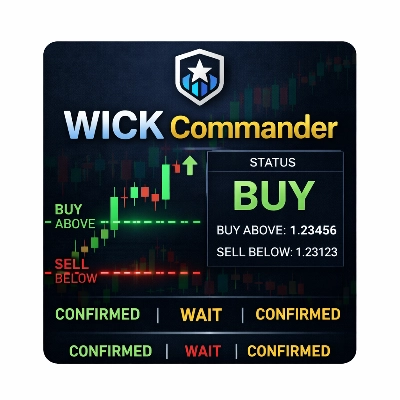
7) Ok Sistemi — profesyonel zamanlamayla temiz sinyaller
İki güçlü ok türü alırsınız:
- HTF Dönüş Oku → “rejim değişti” anı
- Geri Çekilme Giriş Oku → trend içindeki yüksek kaliteli tetikleyici
Geri çekilme modları numara değildir — gerçek işlem mantığı stilleridir:
- MA Dokunuşu
- FVG Yeniden Test
- Bant Kenarı
- ATR Geri Çekilme
- HEPSİ (çoklu yöntem onayı + akıllı limitler)
Ve bunu bir profesyonel gibi kontrol edebilirsiniz: işlem yapmama pencereleri, trend başına maksimum ok sayısı, reddetme gereksinimleri, mesafe filtreleri, onay barları — gecikmiş gereksiz sinyallerle spamlenmemeniz için.
8) Opsiyonel Mum Renklendirme — tam grafik netliği
Etkinleştirin ve mumlarınız mevcut rejim rengiyle hizalanır — özellikle tick grafiklerde hız ve karar verme için mükemmel.
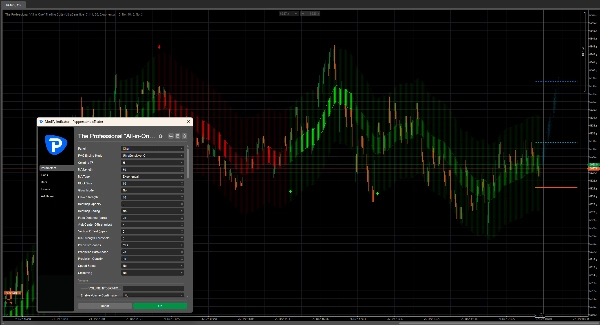
9) Performans Modu — ağır özellikler, akıcı yürütme
Bu gösterge çok şey yapar çünkü çok şey yapabilir.
Performans Modu, aktif çizimi akıllıca sınırlandırarak hızlı ve stabil kalmasını sağlar.
“İhtiyacınız olan tek gösterge” zihniyeti — profesyonel bir gerçeklik kontrolü ile
Bu araç, her şeyi tek bir tutarlı sistemde birleştirerek bir gösterge yığınına alternatif olarak tasarlanmıştır:
trend + dengesizlik + likidite + girişler + hedefler + risk yapısı + görsel netlik.
Tahmin oyunu gibi görünmeyi bırakan ve profesyonel bir çalışma istasyonu gibi görünmeye başlayan bir grafik istiyorsanız — işte bu.
Özet
Key features include higher-timeframe direction control with multi-timeframe and tick-timeframe support, providing a clear market regime bias. The suite offers a heatmap with fading and glow effects to visually emphasize market strength and dominance. Predictive Zones project probable price paths forward, enabling traders to anticipate market moves.
A liquidity engine highlights key liquidity areas and clusters, revealing where institutional orders concentrate. Optional take-profit and stop-loss projections are based on liquidity targets with multiple stop-loss modes, supporting structured risk management. The system includes smart arrows signaling higher-timeframe flips and high-quality pullback entries, customizable with various trade logic styles.
Additional functionalities include optional candle coloring aligned with market regimes and a performance mode to maintain smooth execution despite heavy chart drawing. This indicator consolidates trend, imbalance, liquidity, entries, targets, and risk structure into one integrated workspace for professional-level market analysis and decision-making.
Müşteri değerlendirmeleri
5 | 50 % | |
4 | 50 % | |
3 | 0 % | |
2 | 0 % | |
1 | 0 % |