present
Inscrivez-vous et bénéficiez d'une remise de 50 $ sur votre premier achat
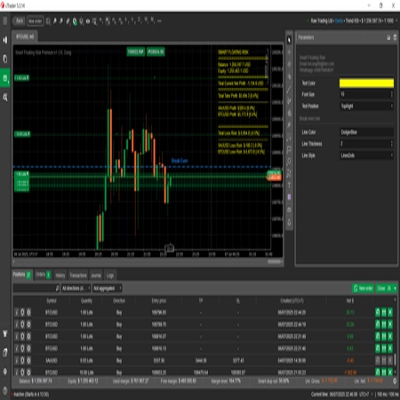
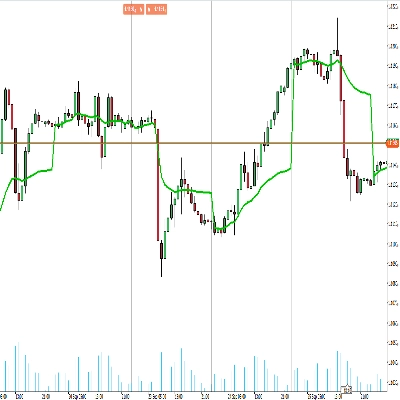
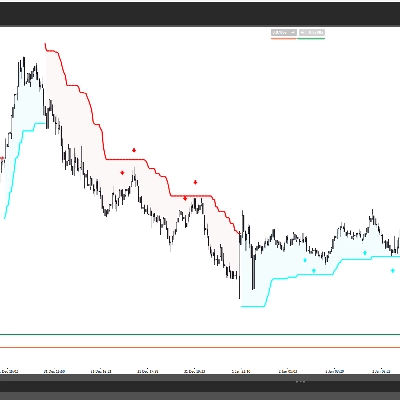
Trading product for Advanced battelzone density heat map Indicateur Key Levels Pin Bar, image 1
Advanced battelzone density heat map
Indicateur
Version 1.0, Jun 2026
Windows, Mac
5.0
Avis : 1
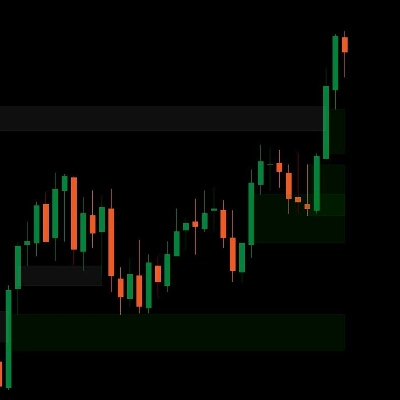
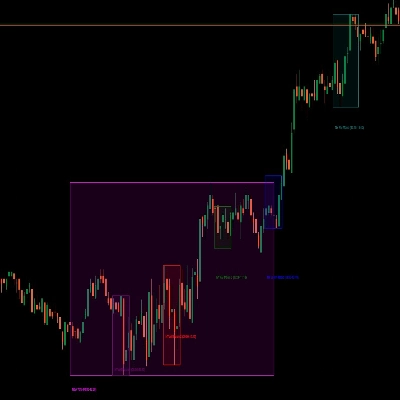
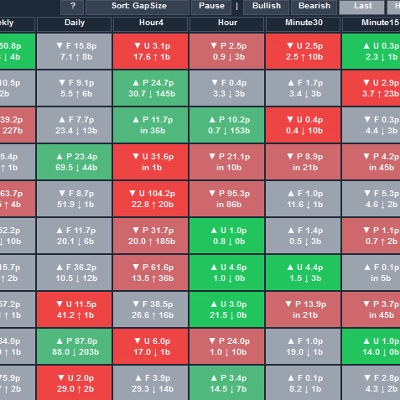
Trading product for Advanced battelzone density heat map Indicateur Key Levels Pin Bar, image 2
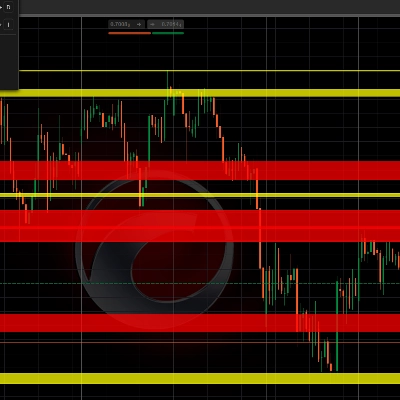
Trading product for Advanced battelzone density heat map Indicateur Key Levels Pin Bar, image 3
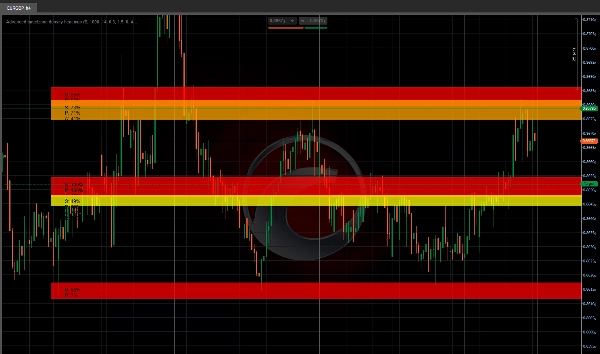
Trading product for Advanced battelzone density heat map Indicateur Key Levels Pin Bar, image 4
Depuis le 14/01/2025
3
Ventes
293
Installations gratuites

Description

ZONES DE CHALEUR STRUCTURELLES

Carte d'Intensité de Participation


--------------------------------------------------


Voyez où le prix lutte. Voyez où il ignore.


La plupart des outils de support/résistance tracent des lignes là où le prix ÉTAIT.


Les Zones de Chaleur Structurelles répondent : Le marché se SOUCIE-t-il réellement de ce niveau ?


--------------------------------------------------


ÉVALUATION DE L'INTENSITÉ DE CHALEUR (0 à 100)


L'indicateur analyse le regroupement des oscillations et attribue un score de chaleur :


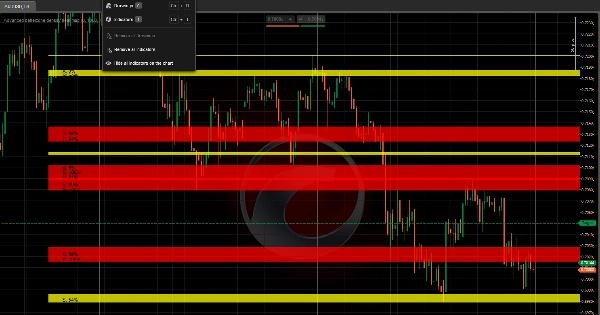
- Zones rouges (chaleur de 80 à 100) = Participation structurelle la plus forte

- Zones orange (chaleur de 60 à 80) = Zone structurelle active

- Zones jaunes (chaleur de 40 à 60) = Intérêt modéré

- Zones bleues (chaleur inférieure à 40) = Structure faible


Chaleur plus élevée = plus d'oscillations regroupées = plus d'attention du marché.


--------------------------------------------------


SUIVI DE L'ACCEPTATION VS REJET


Pour chaque zone de chaleur structurelle, l'indicateur suit le comportement du prix :


- ACCEPTATION = Le prix clôture à l'intérieur de la zone (comportement de support)

- REJET = Le prix laisse de longues mèches à la zone (comportement de résistance)


Cela vous indique si une zone est susceptible de TENIR ou de SE RENVER.


--------------------------------------------------


ANALYSE DE L'ENGAGEMENT DU MARCHÉ


Le système mesure :


- Touches de chandelles (fréquence des visites du prix dans chaque zone)

- Clôtures à l'intérieur (taux d'acceptation)

- Rejets par mèches (taux de rejet)

- Période de retour configurable


Faible engagement = zone faible. Fort engagement = zone de chaleur structurelle.


--------------------------------------------------


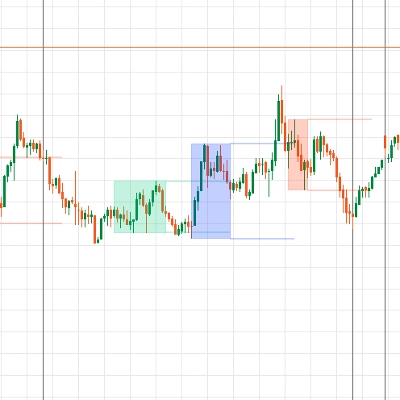
CARTOGRAPHIE VISUELLE DE L'INTENSITÉ


- Zones codées par couleur selon le score de chaleur (rouge = le plus chaud)

- Extensions en halo pour visualiser les rejets

- Étiquettes de données affichant : Chaleur / Participation / Acceptation / Rejet

- Nettoyage automatique (les zones se redessinent automatiquement)

- Flèches optionnelles pour les hauts/bas des oscillations


--------------------------------------------------


PARAMÈTRES CLÉS


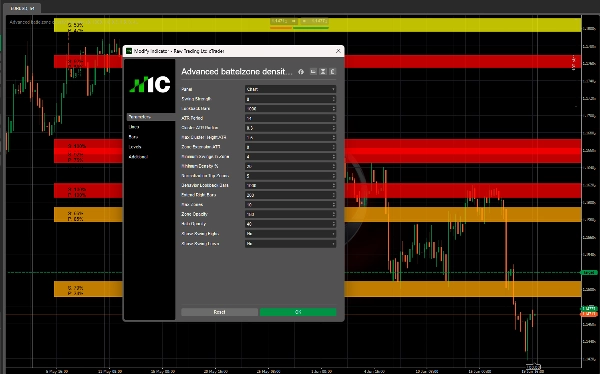
- Force des oscillations : Sensibilité des pivots (plus élevé = moins d'oscillations)

- Barres de retour : Jusqu'où remonter pour détecter les oscillations

- Période ATR : Pour le calcul adaptatif du rayon

- Rayon ATR de regroupement : Distance maximale entre oscillations pour les regrouper

- Hauteur maximale du regroupement ATR : Rejette les zones plus larges que cela

- Extension de zone ATR : Taille du halo pour la détection des rejets

- Oscillations minimales dans la zone : Taille minimale du regroupement

- Score de chaleur minimum : Affiche uniquement les zones au-dessus de ce seuil

- Barres de retour comportementales : Période pour le suivi de l'engagement

- Nombre maximal de zones : Nombre maximum de zones affichées

- Opacité zone / halo : Transparence visuelle


--------------------------------------------------


CAS D'UTILISATION


- Trouver de véritables zones de chaleur structurelle (chaleur élevée + fort engagement)

- Distinguer les zones d'acceptation des zones de rejet

- Éviter les zones à faible chaleur et faible participation

- Identifier les regroupements structurels pour placer entrées et sorties

- Confluence avec des indicateurs de tendance ou le flux d'ordres


--------------------------------------------------


NOTES TECHNIQUES


- Indicateur en superposition (dessine sur le graphique des prix)

- Fonctionne sur n'importe quelle unité de temps et symbole

- S'adapte automatiquement à la volatilité via l'ATR

- Pas de repaint (les oscillations sont historiques)


--------------------------------------------------


DES CRÉATEURS DE INVICTUS EA


Structural Heat Zones partage la même technologie de participation structurelle que le système de trading automatisé Invictus.


--------------------------------------------------


AVERTISSEMENT SUR LES RISQUES


Cet indicateur est un outil analytique. Il ne génère pas de signaux de trading automatisés. Toutes les décisions de trading restent sous la responsabilité de l'utilisateur.


--------------------------------------------------


SUPPORT


Mises à jour à vie incluses.


POUR PLUS D'INFORMATIONS - Cliquez sur le profil du développeur ci-dessous.

Résumé

Résumé IA
The Advanced Battlezone Density Heat Map is a price chart overlay indicator designed to identify and visualize key structural zones in the market based on price participation intensity. It analyzes swing clustering to assign a heat score (0-100) to price levels, highlighting zones where the market shows strong engagement (red zones), moderate interest (yellow), or weak structure (blue). The indicator tracks price behavior within these zones, distinguishing between acceptance (price closes inside the zone, indicating support) and rejection (price forms long wicks, indicating resistance), helping users assess whether a zone is likely to hold or reverse.

Key features include color-coded heat zones, halo extensions for rejection visualization, and data labels displaying heat, participation, acceptance, and rejection scores. The system measures candle touches, closes inside zones, and wick rejections over a configurable lookback period to quantify market engagement. Adjustable parameters allow customization of swing sensitivity, cluster radius, zone size, and visual opacity.

This tool supports any timeframe and symbol, adapts to volatility using ATR, and does not repaint historical swings. It is intended for identifying genuine structural heat zones, differentiating acceptance from rejection areas, and aiding entry and exit placement in conjunction with other trend or order flow indicators. The indicator is analytical and does not generate automated trading signals.
Profil de l'indicateur
Catégorie de l'indicateur
Assistance et résistance
Type de résultat
Visualisation
Exigences en matière de données
Barres seulement
Signaux pris en charge
Cassure
Inversion
Puissance de la tendance
Atteinte du niveau
Dépassement de niveau

Avis clients

5.0
Avis : 1
5
100 %
4
0 %
3
0 %
2
0 %
1
0 %
Avis clients
June 29, 2026
Advanced Battlezone Density Heat Map offers an original approach to structural market analysis by visualizing areas of concentrated market participation instead of traditional support and resistance levels. The indicator is stable, highly configurable and particularly useful for Smart Money, discretionary and price action trading workflows.

Discussion

Questions fréquentes

Key Levels
Pin Bar
BOS
Market Structure
Supply & Demand
ATR
Support & Resistance
Les produits disponibles sur cTrader Store, notamment les bots de trading, les indicateurs et les plug-ins, sont fournis par des développeurs tiers et mis à disposition à titre informatif et à des fins d'accès technique uniquement. cTrader Store n'est pas un courtier et ne fournit aucun conseil en investissement, aucune recommandation personnelle ni aucune garantie quant aux performances futures.

Plus de cet auteur

Indicateur
ATR
RSI
+5
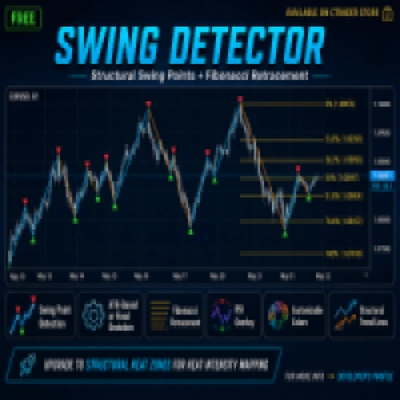
Free swing detector with Fibonacci retracement and RSI overlay. Auto-deviation adapts to any timeframe
Indicateur
Volume
Imbalance
+1
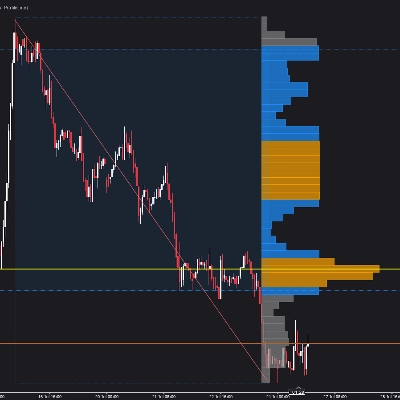
Volume profile indicator that auto-detects the latest trendline. Shows POC, Value Area (VAH/VAL), and High Volume Nodes
Indicateur
ATR
RSI
+4
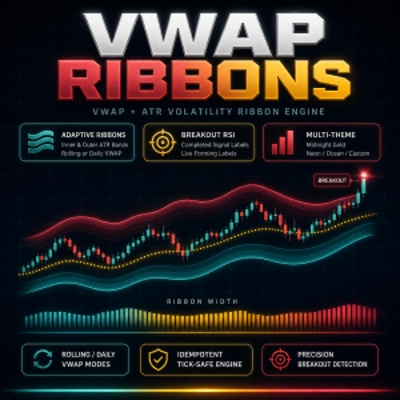
VWAP with ATR ribbon bands and RSI labels on completed breakouts — live forming labels on cTrader.
Indicateur
EMA
Channel
+3
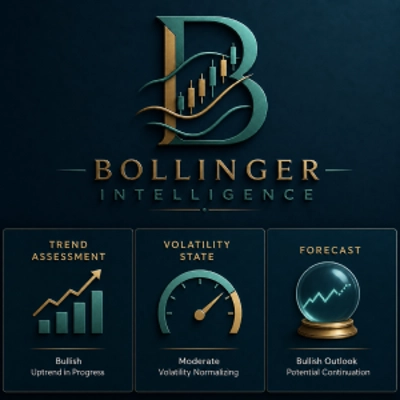
Real-time squeeze detection, dual-horizon trend scoring & institutional breakout validation HUD dashboard.
Indicateur
ATR
BOS
+5
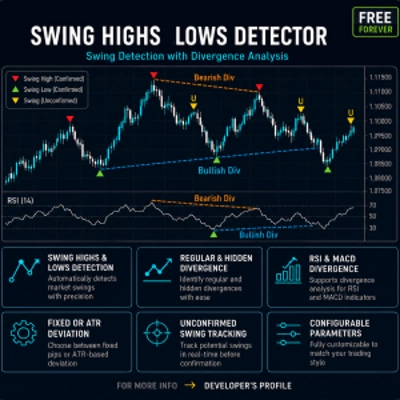
Auto Swing detection with regular and hidden divergence analysis. RSI and MACD divergence detection.
Indicateur
ATR
RSI
+5
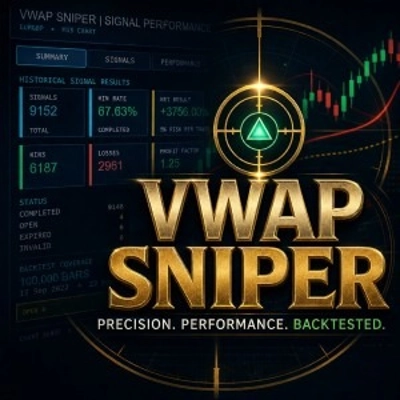
Multi-factor VWAP mean-reversion signals with ATR bands, volume exhaustion, and RSI gate on cTrader.
Indicateur
MSS
Volume
+3
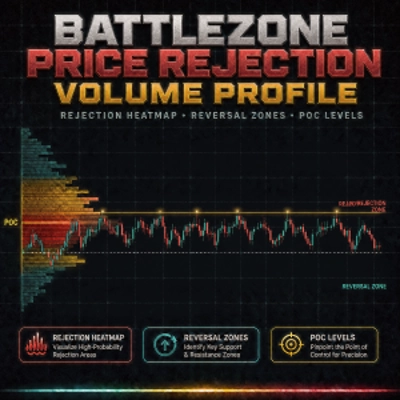
Rejection-based volume profile with tiered heat zones, POC levels and a fully draggable anchor on cTrader.
cBot
ATR
Wedge
+5
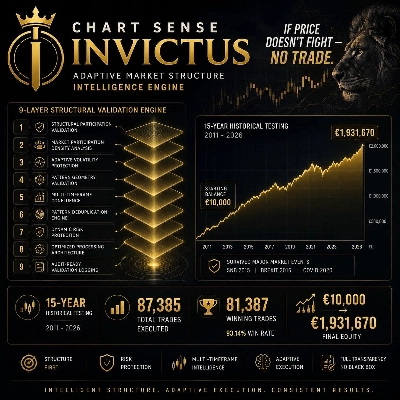
15 YEARS RESULTS :Win rate:93% | ROI+19000% | Trades:87,000 | Profit Factor 1.2 | Currency Pairs:22 | $10k to 500k$ |
1.2
Facteur de profit
Indicateur
MSS
VWAP
+5
VWAP mean-reversion signals combined with a ribbon-anchored volume profile, VAH/VAL, POC and HVN levels.
Indicateur
RSI
Volume
+3
Auto-detects swings, Includes POC, Value Area (VAH/VAL), High Volume Nodes (HVN), Fibonacci retracement, and RSI overlay
Indicateur
BOS
Flag
+5
Detect consolidation zones. Heatmap shows activity density. Body vs wick scoring reveals true strength zones.
Indicateur
ATR
EMA
+5
Multi-factor volatility squeeze detector, dual-trend scoring & breakout validation dashboard. No repaint.

Vous pourriez aussi aimer

Indicateur
📊 Smart Floating Risk Pro – Advanced Risk Management for cTrader
Indicateur
ADX
ATR
+1
Indicador de Sinais Visuais para Spotcrude (WTI) ou SpotBrent com filtros de tendência, operacional de 10 e 15 minutos.
Indicateur
ATR
BOS
+5
Clean Smart Money zones with filtered FVGs, confirmed BOS, Order Blocks, and automatic mitigation tracking.
Indicateur
ATR
RSI
+1
Super Trend Rsi ,ATR + trend change distance + dynamic Alpha, divergence/convergence
Indicateur
SMC
NAS100
+5
Rolling Volume Profile MTF with 24H, 7D, 30D profiles and a precise NY Open marker.
Indicateur
Volume
Key Levels
+5
Volume Profile Pro - A Lightweight and Highly Customizable Side & Range Volume Profile
Indicateur
BOS
MSS
+5
Your entire ICT session map, structure engine, and key levels — No manual work. One indicator. Every session!
Indicateur
SMC
Prop
+4
📈 Trading Sessions Indicator — London, New York & Tokyo Visualize Key Market Sessions + High/Low Levels with Precision
Indicateur
SMC
Forex
+5
Pinpoint FVGs, track fills and see mitigation stats — trade imbalances with clarity and confidence.
Indicateur
This indicator can be used to: change color, shape size, position, change font, increase or decrease, and other function
Indicateur
The Multi-Timeframe Candle Indicator displays candles from multiple timeframes in one window, enhancing market analysis!
Indicateur
VWAP
Forex
+12
Unlock VWAP in cTrader! Choose anchor periods, price sources, and display deviation bands with real-time tick updates.
Indicateur
SMC
Prop
+8
KILLZONES AND MACRO SESSIONS
Indicateur
AI
SMC
+9
Identifies market trends (-10 to +10) using HMA with volume confirmation. Includes customizable alerts.
Indicateur
EMA
AI-assisted
+1
Multi EMA Timeframes lets you stay on your chart and see the exact EMA from any timeframe you choose — up to 5 at once.
Logo de "ORB v1.1"
Populaire
4.0
(4)
$25
Indicateur
Breakout
Opening Range Breakout v1.1 - Visuals + Stats
Indicateur
MACD
Forex
+6
Auto Signal BUY SELL is a professional decision-making tool designed to help you follow the trend and capture high-proba
Indicateur
Imbalance
Fair Value Gap
+1
Multi-symbol, multi-timeframe Fair Value Gaps in one panel.

Prix

Depuis le 14/01/2025
3
Ventes
293
Installations gratuites