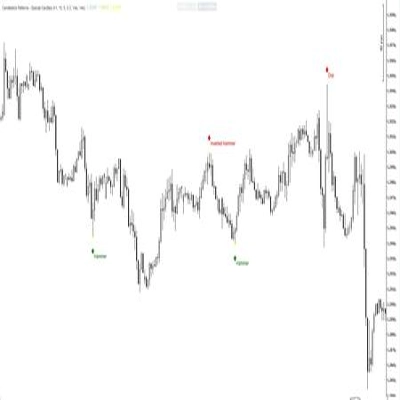
Bullitt Traders의 Camarilla — 구조 시각화. 정밀 거래.
기관 수준 주변에서 가격이 어떻게 반응하는지 보여주기 위해 제작된 cTrader용 전문 등급 Camarilla 피벗 지표입니다.
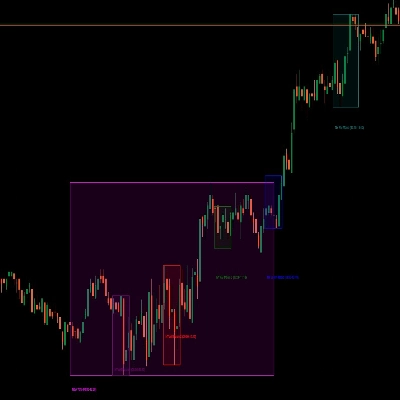
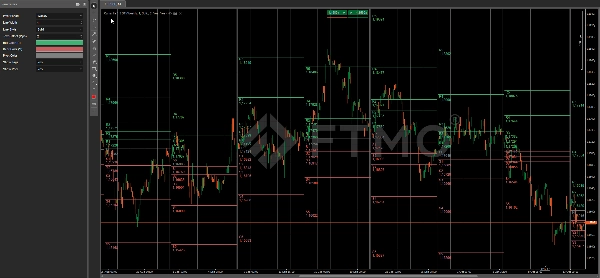
자동으로 모든 주요 Camarilla 레벨(R1–R5 / S1–S5)과 여러 시간대의 피벗 포인트를 표시하여 거래자에게 반전 및 돌파를 위한 명확한 구조 지도를 제공합니다.
주요 특징
- ✅ 진정한 Camarilla 공식 — 이전 기간의 고가, 저가, 종가에서 레벨을 계산합니다.
- 📊 다중 TF 논리 — 일간, 주간 또는 월간 피벗 기간 중 선택할 수 있습니다.
- 🕒 과거 매핑 — 시각적 맥락과 구조 분석을 위해 자동으로 과거 기간을 그립니다.
- 🎨 맞춤 스타일링 — 강세, 약세, 중립별로 선 두께, 스타일, 색상을 조정할 수 있습니다.
- 💬 라벨 및 가격 — 깔끔하거나 상세한 레이아웃을 위해 텍스트와 값 표시를 전환할 수 있습니다.
- ⚡ 경량 및 비재도장 — 모든 심볼에서 속도와 정확도를 최적화했습니다.
- 🧩 모든 차트 유형에서 작동 — 시간, 범위, 틱, 렌코 차트와 호환됩니다.
Camarilla 레벨
R5 – 극단적 돌파 목표 구역
R4 – 주요 저항, 잠재적 돌파 트리거
R3 – 상단 반전 구역, 종종 숏 진입에 사용
R2 – 중간 저항 레벨
R1 – 초기 저항, 초기 반응 레벨
PP – 중앙 피벗 포인트 (평균 회귀 구역)
S1 – 초기 지지, 초기 반응 레벨
S2 – 중간 지지 레벨
S3 – 하단 반전 구역, 종종 롱 진입에 사용
S4 – 주요 지지, 잠재적 돌파 트리거
S5 – 극단적 돌파 목표 구역
매개변수
피벗 기간 – 레벨 계산을 위해 일간, 주간 또는 월간 중 선택
선 두께 – 전체 선 두께 조정
선 스타일 – 실선, 점선 또는 대시선 설정
텍스트 오프셋 (핍) – 선과 라벨 간 거리
강세 색상 (R) – 저항 레벨(R1–R5)의 색상
약세 색상 (S) – 지지 레벨(S1–S5)의 색상
피벗 색상 – 중앙 피벗 선(PP)의 색상
태그 표시 – R/S 레벨 이름 표시 또는 숨기기
가격 표시 – 숫자 가격 라벨 표시 또는 숨기기
사용 방법
R3–S3 구역 → 일반적인 일중 반전 구역
R4–S4 레벨 → 돌파 또는 지속 확인
R5–S5 → 고변동성 목표 및 소진 구역
5 | 100 % | |
4 | 0 % | |
3 | 0 % | |
2 | 0 % | |
1 | 0 % |