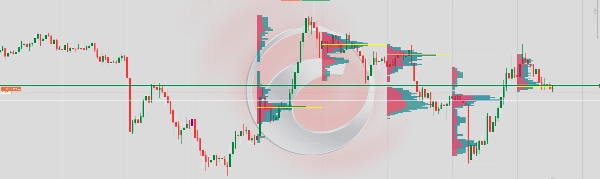
Description
Session Volume Profile HD
What It Does
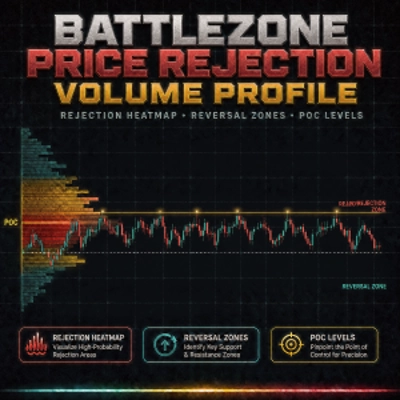
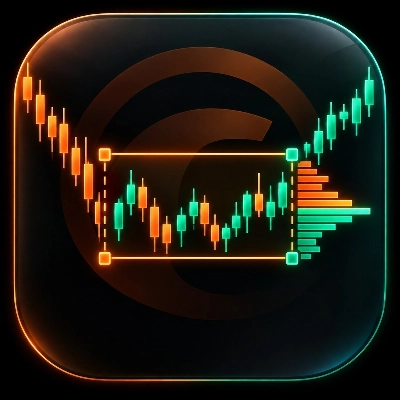
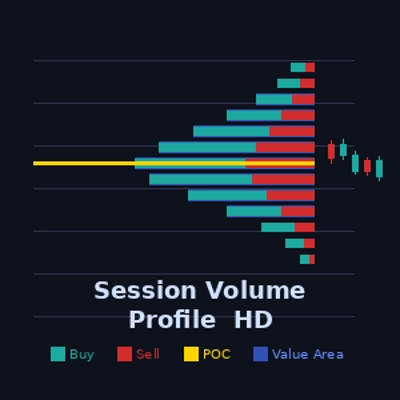
Displays a horizontal volume profile for each trading session directly on the chart. It shows how trading volume is distributed across price levels, helping traders identify high-activity zones, fair value areas, and key support/resistance levels derived purely from volume behaviour.
How It Works
On each new bar close, the indicator scans all bars within the defined number of sessions and distributes each bar's tick volume across its price range. Volume is split into buy-side (bullish bars) and sell-side (bearish bars) using the bar's open/close direction as a proxy. The result is rendered as a layered horizontal histogram anchored to the session's time boundary.
Visual Elements
Buy Bars (Teal) — Show volume traded on bullish price movement at each level. Grow leftward (or rightward if flipped) from the session anchor.
Sell Bars (Red) — Show volume traded on bearish price movement at each level, stacked alongside buy bars.
POC Line (Yellow) — Point of Control. A horizontal line marking the price level with the highest total volume in the session. Acts as a magnet for price.
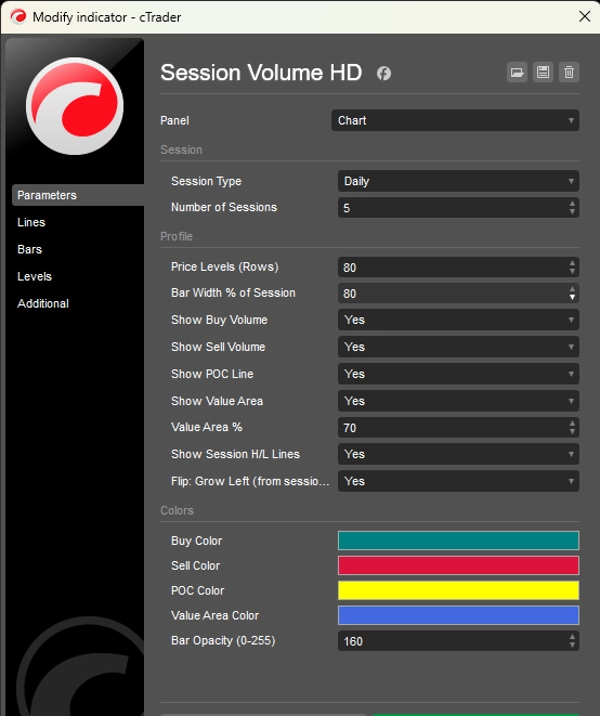
Value Area (Blue overlay) — The price range containing a configurable percentage (default 70%) of the session's total volume. Represents the "fair value" zone where most trading occurred.
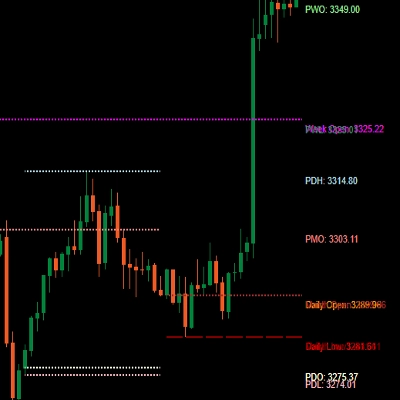
Session H/L Lines (White dotted) — Mark the highest and lowest price reached during the session.
Performance
The indicator redraws only once per new bar, not on every tick. This eliminates flickering and ensures stable rendering even with many sessions and high price level counts.
Limitations
Since cTrader does not expose true bid/ask volume at the bar level without a tick data feed, buy/sell volume is approximated using bar direction: bullish bars are weighted 65% buy / 35% sell, bearish bars the reverse, and doji bars are split 50/50. For true delta volume a tick data subscription would be required.
Summary
The indicator processes volume data at each new bar close by scanning bars within the selected number of sessions. It distributes tick volume across the price range of each bar, separating volume into buy-side (bullish bars) and sell-side (bearish bars) components using bar open/close direction as a proxy. The volume profile is rendered as a layered horizontal histogram anchored to the session's time boundary.
Visual elements include teal buy bars, red sell bars, a yellow Point of Control (POC) line marking the highest volume price level, a blue overlay representing the value area containing a configurable percentage (default 70%) of total session volume, and white dotted lines marking session high and low prices.
The indicator redraws only once per new bar to ensure stable rendering without flickering. Buy/sell volume is approximated using bar direction due to platform data limitations, with bullish bars weighted 65% buy / 35% sell and bearish bars the reverse. This indicator supports markets including Forex, indices, commodities, stocks, and cryptocurrencies.