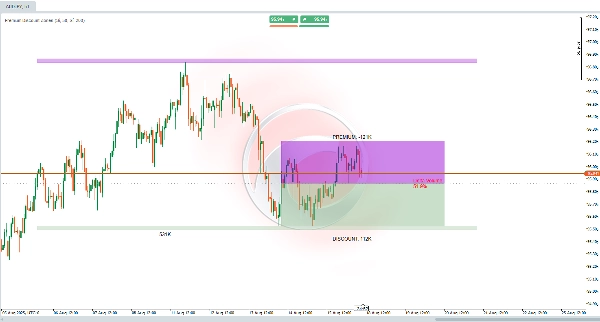
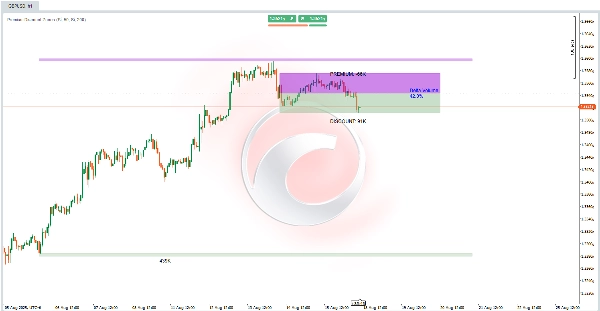
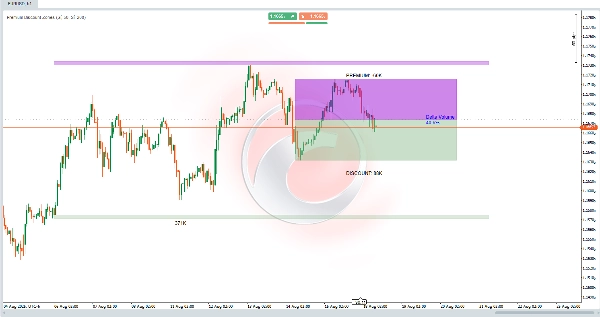

Description
▁▂▃▄▅▆▇ █ 10,000+ traders (institutional + retail) █ ▇▆▅▄▃▂▁
- Choose our TOP indicators in cTrader 🏆
- ✨ Exclusive precision for superior results ✨
- 📈 Our algorithms —with the highest-rated visuals 🎯—
- have been successfully implemented in 2 quant funds
▁▂▃▄▅▆▇ █████████████████████████████ ▇▆▅▄▃▂▁
_______________________________________________
_______________________________________________
📌 Market Structure Indicators
· ✅ AdvancedMarket Structure: Bos, Choch, SwinLevels, Order Blocks, Market Structure& Liquidity Finder
· 🔄 Dynamic Market StructureAnalysis of Turning Points
· 🧱 Order Block
· ⚖️ Market Imbalance
· ⛓️ BOS & CHOCH
· 🧠 ICT Power of 3
______________________________________________________________-
Store cBots : 🧠 Gold & BTC BreakoutSession Pivots 🧠
_______________________________________________
🔚 Smart Exit Systems
_______________________________________________
📐 ZigZag Indicators
· 🔍 ZigZag Price LiquidityProjection
· ➖ ZigZag
_______________________________________________
🧱 Support & Resistance Indicators
· 🟩 SmartTrend Support &Resistance Lines
· 🧱 All Support and ResistanceLevels
_______________________________________________
📊 Trend & Channel Indicators
· 📊 Supertrend
_______________________________________________
💧 Volume & Liquidity Tools
_______________________________________________
⚡ Momentum & RSI Indicators
· 🔎 Multi-Level Candle BiasTracker
_______________________________________________
🔮 Prediction & Projection Tools
· 📐 Prediction Based on Linreg& ATR
· 📏 Fibonacci Linear RegressionMulti-timeframe
· 📈 Volume-Powered Market Flow Projector
______________________________________________________________________________________________________
What Does the Premium Discount Zones Indicator Do? 🎯
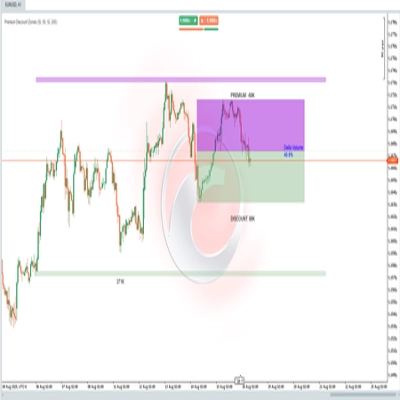
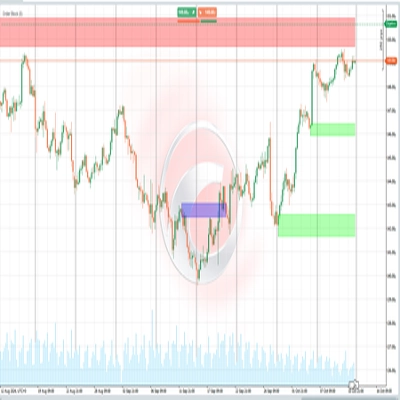
This indicator is designed to help you identify key areas based on recent market highs and lows. It analyzes a configurable period of past bars to determine a general price range, calculates a midpoint equilibrium, and divides that range into two main zones:
- 🔺 Premium (Upper Zone)
- 🟩 Discount (Lower Zone)
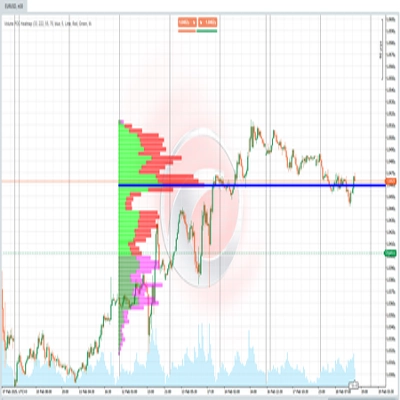
It also evaluates trading volume in those bars to calculate a "Volume Delta", which represents the percentage of volume associated with bearish movements.
What Is It For? 💡
This indicator helps you spot areas where the price might be:
- 📈 Overvalued (Premium Zone) → Potential for selling or taking profits
- 📉 Undervalued (Discount Zone) → Potential for buying or accumulation
It provides a quick view of market imbalances, highlighting whether recent volume favors bullish or bearish moves. The extended structural zones project key levels beyond the immediate range, useful for planning trades in trends or reversals. 🚀
Perfect for strategies targeting consolidation ranges, breakouts, institutional trading, or liquidity analysis!
How to Interpret It? 🔍
- 🟣 Premium Zone (Purple, Above Equilibrium) → Upper range, where price is considered "expensive."
- 🟢 Discount Zone (Green, Below Equilibrium) → Lower range, where price is seen as "cheap."
- ⚖️ Equilibrium Line (Gray, Middle) → Marks the range’s midpoint, acting as a balance level. A price crossover here may signal a bias shift.
- 📊 Volume Delta (Center) → Shows bearish volume % (🔴 >50% = bearish, 🔵 <50% = bullish).
- 🏛 Structural Zones (Shaded Extensions) → Extended areas above/below range extremes, acting as long-term support/resistance with a buffer based on recent price action.
The indicator dynamically updates these zones on recent bars, extending rightward for future projections.
How to Use It in Trading? 🛠️
- Initial Setup:
- Enable PD levels (main) and structural zones if desired.
- Adjust lookback periods:
- Short (e.g., 50 bars) → Recent ranges
- Long (e.g., 200 bars) → Structural context
- Chart Analysis (e.g., H1 Timeframe):
- Check if price is in 🟣 Premium (consider selling with bearish confirmation) or 🟢 Discount (consider buying with bullish confirmation).
- Use Volume Delta for confirmation:
- 🔴 >50% → Favors shorts in Premium
- 🔵 <50% → Favors longs in Discount
- Entry & Exit Strategies:
- 🟢 Buy in Discount Zone: If price enters green zone & delta is low, look for long entries with stops below the zone’s low and targets at equilibrium or Premium.
- 🟣 Sell in Premium Zone: If price reaches purple zone & delta is high, consider shorts with stops above the zone’s high and targets at equilibrium or Discount.
- 🏛 Use Structural Zones for longer-term trades, applying the buffer as an error margin.
Summary
The indicator also computes a Volume Delta, representing the percentage of volume associated with bearish movements, which helps confirm market bias: values above 50% favor bearish conditions, while values below 50% favor bullish conditions. Extended structural zones project key support and resistance levels beyond the immediate range, useful for planning trades in trending or reversal markets.
Users can adjust lookback periods to focus on recent ranges or broader structural context. The indicator dynamically updates these zones and extends them forward for future projections. It supports trading strategies involving consolidation ranges, breakouts, institutional trading, and liquidity analysis by providing visual cues on price valuation and volume-driven market imbalances.
!["[Stellar Strategies] Ultimate Trend & Momentum Dashboard" logo](https://cdn.ctrader.com/image/webp/e9a9c9e9-4b6c-4bc0-9988-4c4768a23b6c_30290)